


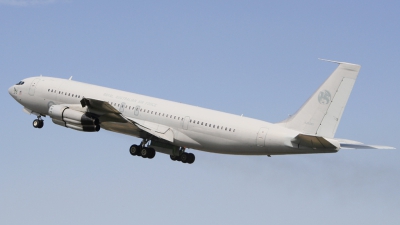
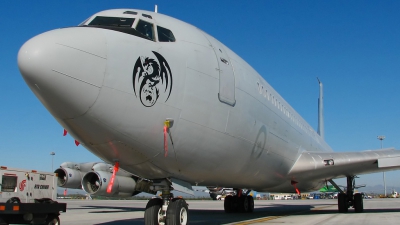
- Air Force: Australia - Air Force
- Aircraft: Boeing 707-368C
- Registration: A20-261 (cn 21261/919)
- Views: 1251
- Location: Fairford (FFD / EGVA) , UK - England July 17, 2006
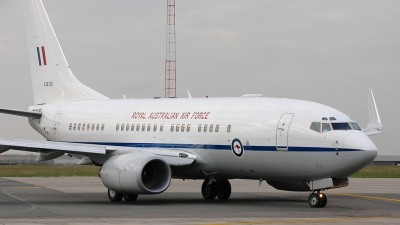
- Air Force: Australia - Air Force
- Aircraft: Boeing 737-7DP BBJ
- Registration: A36-001 (cn 30829/738)
- Views: 1401
- Location: Brussels - National (Zaventem) / Melsbroek (BRU / EBBR / EBMB) , Belgium April 6, 2008
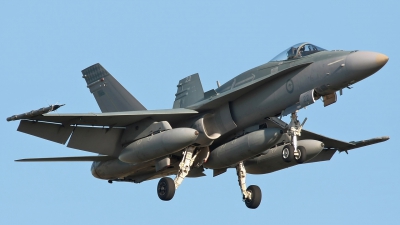
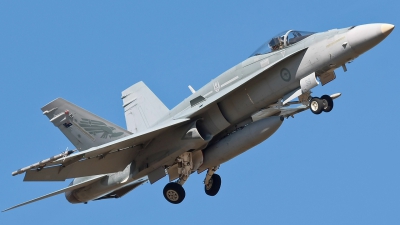
- Air Force: Australia - Air Force
- Aircraft: McDonnell Douglas F/A-18A Hornet
- Registration: A21-22 (cn 476/AF22) Aircraft Info
- Views: 2765
- Location: Newcastle - Williamtown (NTL / YWLM) , Australia - New South Wales June 27, 2008
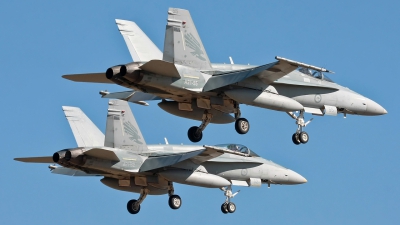
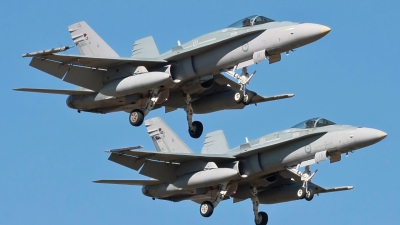
- Air Force: Australia - Air Force
- Aircraft: McDonnell Douglas F/A-18A Hornet
- Registration: A21-55 (cn 814/AF55) Aircraft Info
- Views: 2800
- Location: Newcastle - Williamtown (NTL / YWLM) , Australia - New South Wales July 31, 2008
A pairs landing by two jets from 3 Sqn, both wearing the new style of Sqn tail marking.
- Air Force: Australia - Air Force
- Aircraft: McDonnell Douglas F/A-18A Hornet
- Registration: A21-14 (cn 353/AF14) Aircraft Info
- Views: 1686
- Location: Newcastle - Williamtown (NTL / YWLM) , Australia - New South Wales July 31, 2008
A pairs landing by two jets from 3 Sqn, both wearing the original style of Sqn marking.
- Air Force: Australia - Air Force
- Aircraft: McDonnell Douglas F/A-18A Hornet
- Registration: A21-8 (cn 306/AF8) Aircraft Info
- Views: 2424
- Location: Newcastle - Williamtown (NTL / YWLM) , Australia - New South Wales June 27, 2008
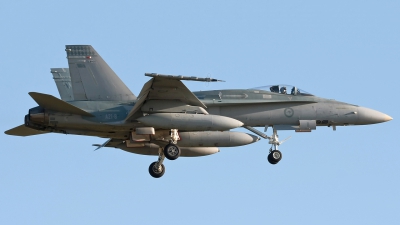
- Air Force: Australia - Air Force
- Aircraft: McDonnell Douglas F/A-18A Hornet
- Registration: A21-110 (cn 0413/ATF110) Aircraft Info
- Views: 2336
- Location: Newcastle - Williamtown (NTL / YWLM) , Australia - New South Wales June 26, 2008
- Air Force: Australia - Air Force
- Aircraft: McDonnell Douglas F/A-18A Hornet
- Registration: A21-47 (cn 741/AF47) Aircraft Info
- Views: 2090
- Location: Newcastle - Williamtown (NTL / YWLM) , Australia - New South Wales May 9, 2008

- Air Force: Australia - Air Force
- Aircraft: McDonnell Douglas F/A-18A Hornet
- Registration: A21-22 (cn 0476/AF022) Aircraft Info
- Views: 1468
- Location: Newcastle - Williamtown (NTL / YWLM) , Australia - New South Wales June 27, 2008
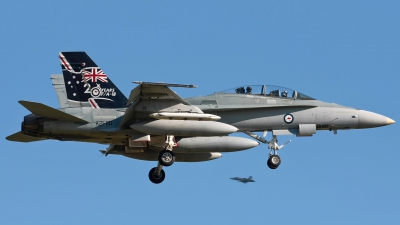
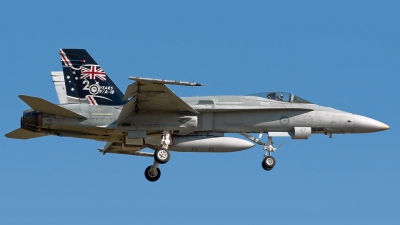
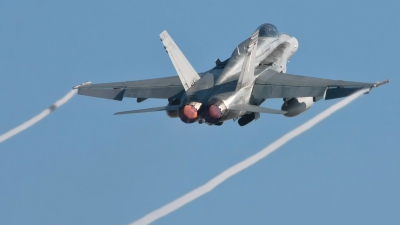
- Air Force: Australia - Air Force
- Aircraft: McDonnell Douglas F/A-18A Hornet
- Registration: A21-39 (cn 657/AF39) Aircraft Info
- Views: 1705
- Location: Newcastle - Williamtown (NTL / YWLM) , Australia - New South Wales July 18, 2008
A great angle as this 3Sqn jet climbs away from a missed approach.
- Air Force: Australia - Air Force
- Aircraft: McDonnell Douglas F/A-18A Hornet
- Registration: A21-43 (cn 0689/AF043) Aircraft Info
- Views: 2296
- Location: Newcastle - Williamtown (NTL / YWLM) , Australia - New South Wales May 30, 2008
Climbing away on a crisp, cold morning.
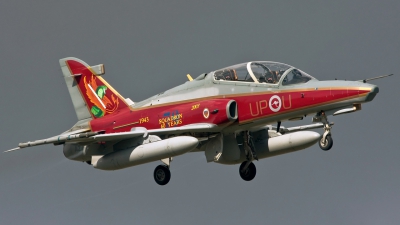
- Air Force: Australia - Air Force
- Aircraft: BAE Systems Hawk 127LIF
- Registration: A27-21 (cn DT21)
- Views: 6041
- Location: Newcastle - Williamtown (NTL / YWLM) , Australia - New South Wales May 23, 2008
79Sqn's 60th anniversary scheme seen against a dark and gloomy sky.
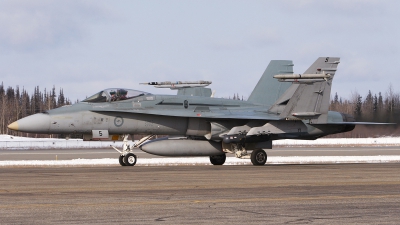
- Air Force: Australia - Air Force
- Aircraft: McDonnell Douglas F/A-18A Hornet
- Registration: A21-5 (cn 271/AF5) Aircraft Info
- Views: 1965
- Location: Fairbanks - Eielson AFB (EIL / PAEI) , USA - Alaska April 17, 2008
Aussie F-18 unfolds the wings before departing on a Red Flag-Alaska 08-2 mission
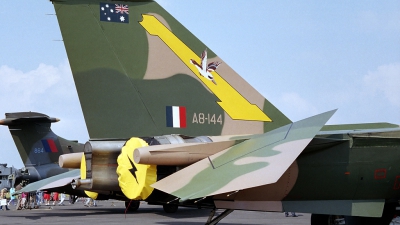
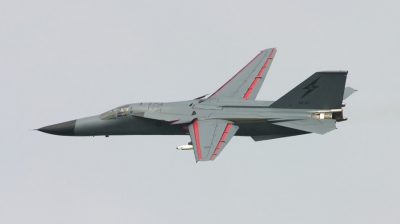
- Air Force: Australia - Air Force
- Aircraft: General Dynamics F-111C Aardvark
- Registration: A8-144 (cn D1-20)
- Views: 2041
- Location: Boscombe Down (EGDM) , UK - England June 9, 1990
In the static at the International Air Tattoo '90 at Boscombe Down, this was the rear end of an RAAF F-111C operated by 1 Sqn. I do like the bird artwork, I think this is a Kookaburra.
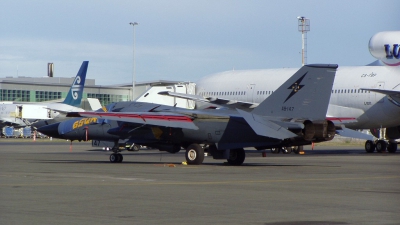
- Air Force: Australia - Air Force
- Aircraft: General Dynamics F-111C Aardvark
- Registration: A8-147 (cn D1-23)
- Views: 2098
- Location: Christchurch - Int. (CHC / NZCH) , New Zealand April 18, 2006
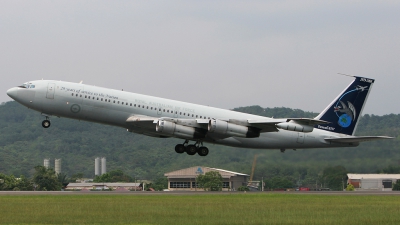
- Air Force: Australia - Air Force
- Aircraft: Boeing 707-338C
- Registration: A20-624 (cn 19624)
- Views: 1252
- Location: Kuala Lumpur - Subang / Sultan Abdul Aziz Shah (SZB / WMSA) , Malaysia May 7, 2008
Farewell B707 special livery. This airframe, the last of the type for RAAF, will be retired on June 30th 2008.
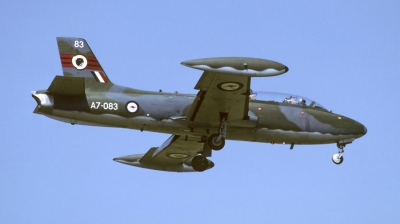
- Air Force: Australia - Air Force
- Aircraft: Aermacchi MB-326H
- Registration: A7-083 (cn CA30-83)
- Views: 1877
- Location: Newcastle - Williamtown (NTL / YWLM) , Australia - New South Wales January 23, 1998
- Air Force: Australia - Air Force
- Aircraft: General Dynamics F-111C Aardvark
- Registration: A8-147 (cn D1-23)
- Views: 2135
- Location: Amberley (YAMB) , Australia - Queensland July 5, 2005
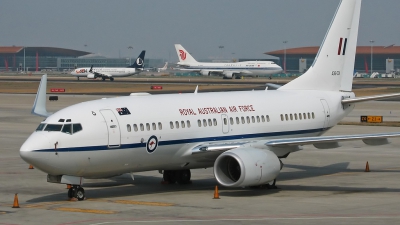
- Air Force: Australia - Air Force
- Aircraft: Boeing 737-7DP BBJ
- Registration: A36-001 (cn 30829/738)
- Views: 1528
- Location: Beijing - Capital (PEK / ZBAA) , China April 9, 2008
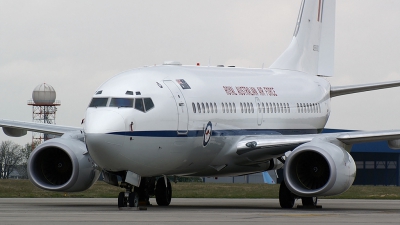
- Air Force: Australia - Air Force
- Aircraft: Boeing 737-7DF BBJ
- Registration: A36-002 (cn 30790/613)
- Views: 1258
- Location: Brussels - National (Zaventem) / Melsbroek (BRU / EBBR / EBMB) , Belgium April 2, 2008
one of the two RAAF 737`s that day at Brussels
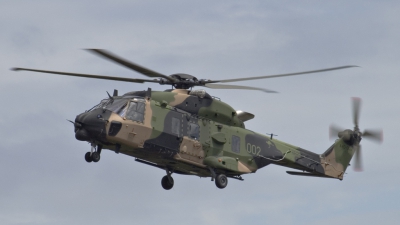
- Air Force: Australia - Army
- Aircraft: NHI MRH-90 Taipan (NH-90TTH)
- Registration: A40-002 (cn 1079/TAUA02)
- Views: 2397
- Location: Brisbane (- Eagle Farm) (BNE / YBBN) , Australia - Queensland December 18, 2007
The NH-90 is known as the MRH-90 by the Australian Defence Force (ADF). Here is the first MRH-90 for the Australian Army. The Army and Navy share a common pool of MRH-90s hence the camo scheme for both Navy and Army aircraft.

- Air Force: Australia - Army
- Aircraft: NHI MRH-90 Taipan (NH-90TTH)
- Registration: A40-003 (cn 1097/TAUA03)
- Views: 3906
- Location: Brisbane (- Eagle Farm) (BNE / YBBN) , Australia - Queensland December 18, 2007
The NH-90 is known as the MRH-90 by the Australian Defence Force (ADF). Here is the first MRH-90 for the Australian Army. The Army and Navy share a common pool of MRH-90s hence the camo scheme for both Navy and Army aircraft.

- Air Force: Australia - Air Force
- Aircraft: Boeing 707-338C
- Registration: A20-624 (cn 19624)
- Views: 1348
- Location: Beijing - Capital (PEK / ZBAA) , China November 3, 2007
- Air Force: Australia - Air Force
- Aircraft: Boeing 707-338C
- Registration: A20-624 (cn 19624)
- Views: 1350
- Location: Beijing - Capital (PEK / ZBAA) , China November 3, 2007