


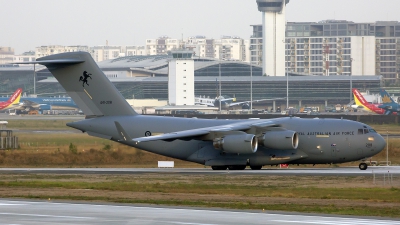
- Air Force: Australia - Air Force
- Aircraft: Boeing C-17A Globemaster III
- Registration: A41-208 (cn F183/AUS3) Aircraft Info
- Views: 375
- Location: Ho Chi Minh City (Saigon) - Tan Son Nhat (SGN / VVTS) , Vietnam April 21, 2021
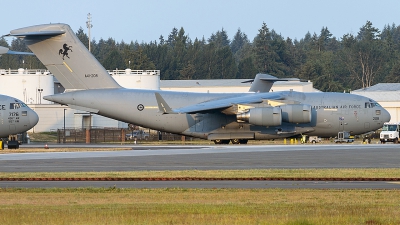
- Air Force: Australia - Air Force
- Aircraft: Boeing C-17A Globemaster III
- Registration: A41-208 (cn F183/AUS3) Aircraft Info
- Views: 527
- Location: Ho Chi Minh City (Saigon) - Tan Son Nhat (SGN / VVTS) , Vietnam March 23, 2021
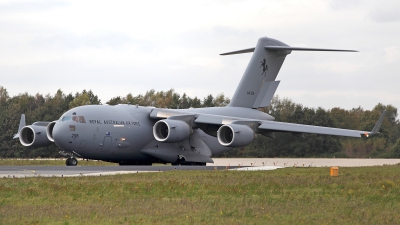
- Air Force: Australia - Air Force
- Aircraft: Boeing C-17A Globemaster III
- Registration: A41-208 (cn F183/AUS3) Aircraft Info
- Views: 686
- Location: Tacoma - McChord AFB (TCM / KTCM) , USA - Washington June 6, 2018
One of two RAAF C-17's at McChord supporting the six F/A-18's and two MRTT tankers working their way North for Maple Flag.

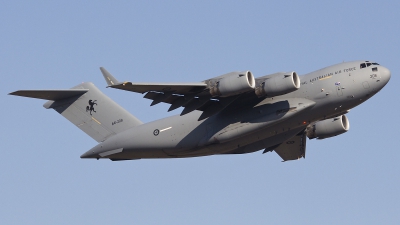
- Air Force: Australia - Air Force
- Aircraft: Boeing C-17A Globemaster III
- Registration: A41-208 (cn F183/AUS3) Aircraft Info
- Views: 973
- Location: Eindhoven (- Welschap) (EIN / EHEH) , Netherlands October 14, 2014
- Air Force: Australia - Air Force
- Aircraft: Boeing C-17A Globemaster III
- Registration: A41-208 (cn F183/AUS3) Aircraft Info
- Views: 998
- Location: Eindhoven (- Welschap) (EIN / EHEH) , Netherlands October 14, 2014
36sqn
- Air Force: Australia - Air Force
- Aircraft: Boeing C-17A Globemaster III
- Registration: A41-208 (cn F183/AUS3) Aircraft Info
- Views: 1069
- Location: Madrid - Getafe (LEGT) , Spain July 31, 2014

- Air Force: Australia - Air Force
- Aircraft: Boeing C-17A Globemaster III
- Registration: A41-208 (cn F183/AUS3) Aircraft Info
- Views: 1219
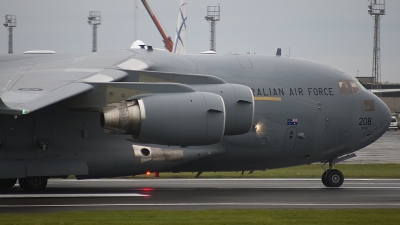
- Location: Amberley (YAMB) , Australia - Queensland June 17, 2009
Here the loadmasters aboard A41-208 guide the pilots while backtracking along runway 33. Mt Mitchell can be seen in the background. Thank you to the RAAF, Camp Quality and the Starlight Foundation for their efforts for 'Fun Flight 08'.
- Air Force: Australia - Air Force
- Aircraft: Boeing C-17A Globemaster III
- Registration: A41-208 (cn F183/AUS3) Aircraft Info
- Views: 1460
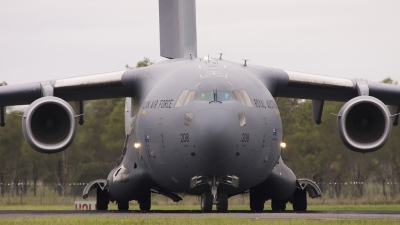
- Location: Glasgow - Prestwick (PIK / EGPK) , UK - Scotland May 25, 2009
'Aussie 559' slows down on rw31 after arriving from Dover AFB.
- Air Force: Australia - Air Force
- Aircraft: Boeing C-17A Globemaster III
- Registration: A41-208 (cn F183/AUS3) Aircraft Info
- Views: 1478
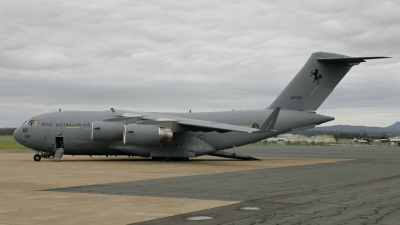
- Location: Amberley (YAMB) , Australia - Queensland November 9, 2008
A41-208 sits on Amberley's large apron awaiting its next mission - a joy 'taxi' up and down the runway for a bunch of kids with illnesses. Well done to Camp Quality, the Starlight Foundation and the RAAF for a great day.
- Air Force: Australia - Air Force
- Aircraft: Boeing C-17A Globemaster III
- Registration: A41-208 (cn F183/AUS3) Aircraft Info
- Views: 1343
- Location: Amberley (YAMB) , Australia - Queensland November 9, 2008
A big thanks to Camp Quality, the Starlight Foundation and of course the RAAF for a great day at 'Fun Flight 08'.